Crafting LookAt Quaternions
One common feature in game programming is having objects “always looking/focused” at a specific target point in space. There are numerous use cases for this. Perhaps you want to create a camera that stays focused on the player, no matter how we decide to move it. Or maybe you want to create an enemy AI that starts looking at the player once they make some noise or move close enough.
Game engines usually provide a convenient LookAt(...) function that solves this problem for us. But how does that work under the hood? In this article, we will create our own LookAt() functionality in Unity3D (the code should be easy to adapt in any language/engine). Furthermore, we will look at (pun intended) some of the issues we need to solve when facing a similar challenge.
Project Setup
We need a very simplistic setup for this project. Open Unity and create a new project (or work on an existing one if you prefer). Create a scene and throw in two game objects, the object that we will rotate and the object we will always focus on. For the rotated object it would be ideal to use a mesh that’s not symmetric in every axis, so you can test and visualize the resulting rotations easier. Lastly, create a new script and apply it as a component on the object we want to rotate. Done!
The Theory
We will not explain Quaternion basics in this article. If you want to learn more about that, there is an excellent resource by Ming-Lun “Allen” Chou. Now that’s out of the way, let’s start by defining the problem:
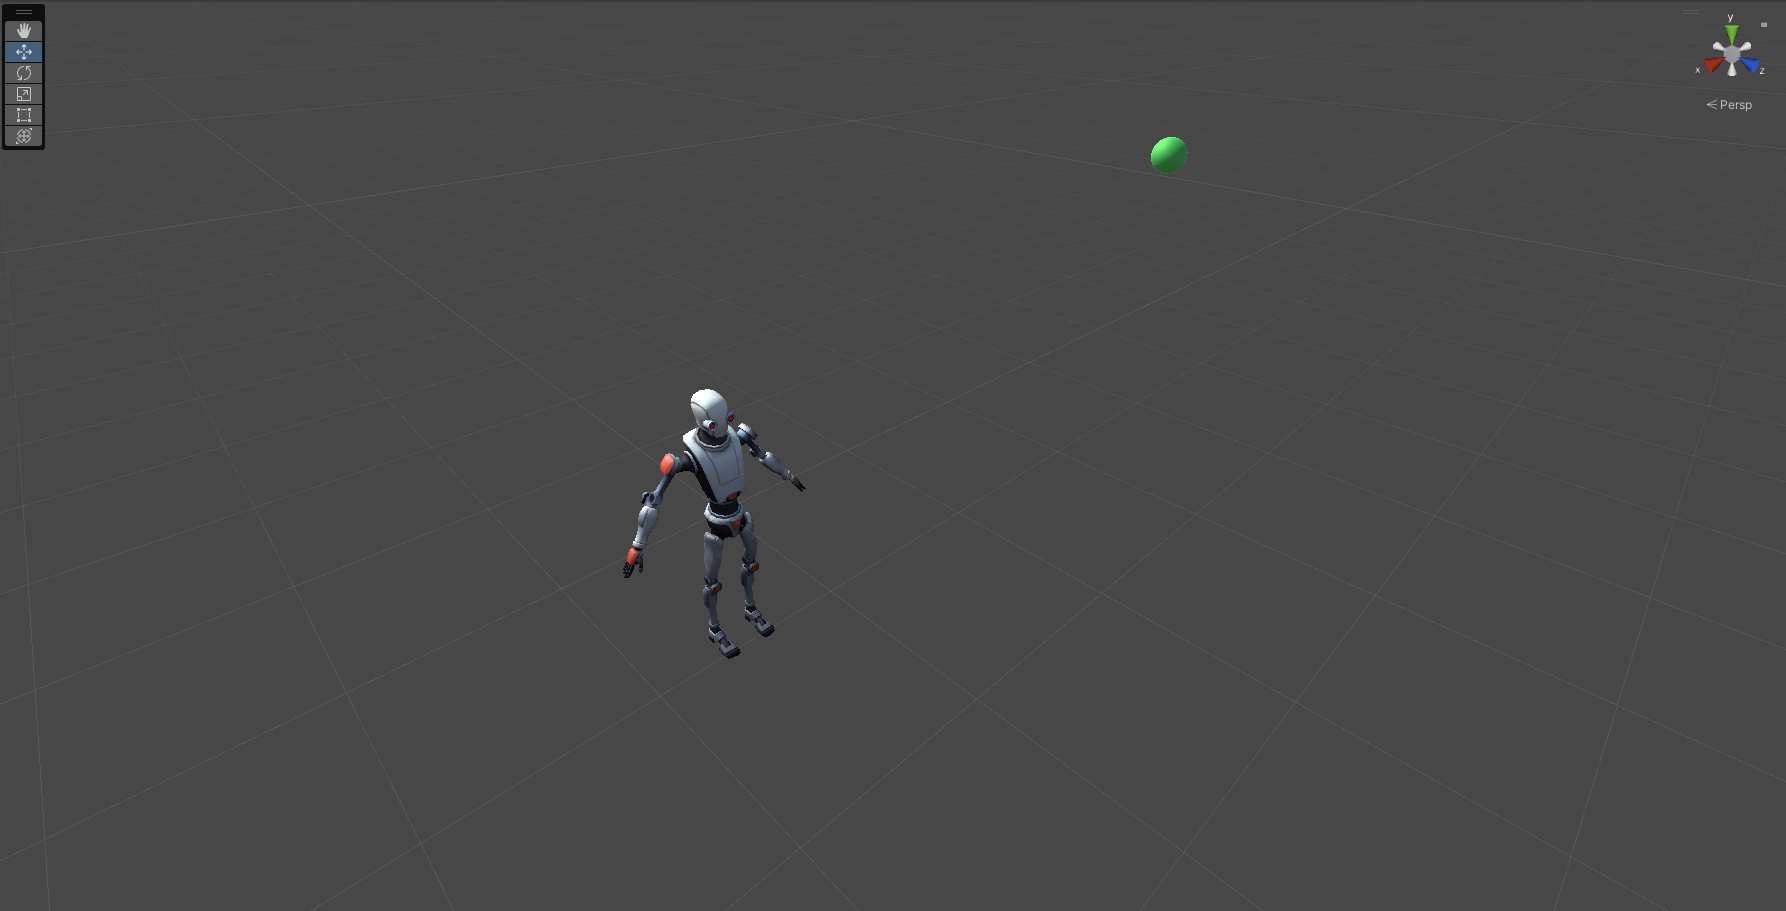 Project startup scene
In the above picture, you can see the scene setup. The goal is to make the robot look at the green sphere at all times. Now let’s add some programmers’ art to understand what information we can use to achieve that:
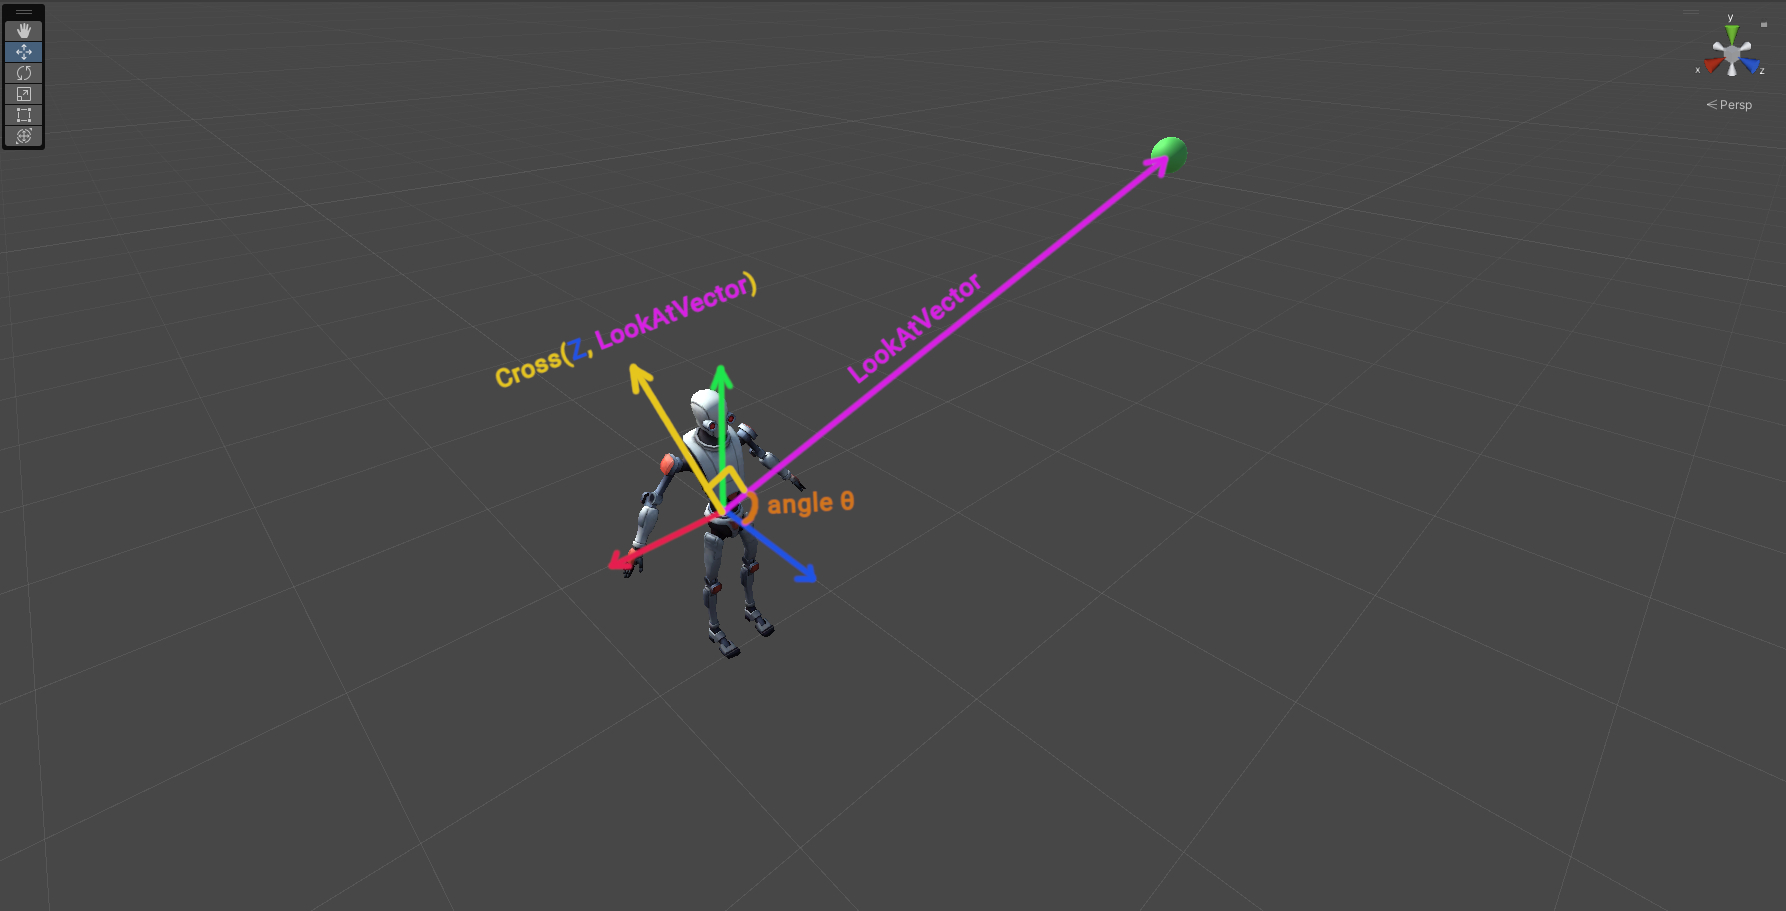 Startup scene with vector information
The blue, red, and green vectors are the robots’ local forward, right, and up axis of the robot, respectively. Our goal is to align the forward axis with the LookAtVector. In order to achieve that, we need to craft a quaternion with a rotation axis of Cross(Z, LookAtVector) and an angle theta θ.
Let’s start by calculating the angle:
\[\vec{l} = \text{LookAtVector}_{normalized}\] \[\vec{z} = \text{Local Forward (Z)}\] \[\theta = acos(\vec{z} \cdot \vec{l})\]Moving on, let’s calculate the perpendicular (yellow) vector, as shown in the picture above:
\[\vec{p} = \vec{z} \times \vec{l}\]Note that if the length of the perpendicular vector, or the angle theta is zero we do not have to rotate anything.
Finally, let’s craft the rotation quaternion:
\[q = (\cos{\frac{\theta}{2}}, p_x\sin{\frac{\theta}{2}}, p_y\sin{\frac{\theta}{2}}, p_z\sin{\frac{\theta}{2}})\]Code - LookAtDirect
1
2
3
4
5
6
7
8
9
10
11
12
void LookAtDirect()
{
    Vector3 lookAtVector = (targetTransform.position - transform.position).normalized;

    float halfAngle      = Mathf.Acos(Vector3.Dot(Vector3.forward, lookAtVector)) * 0.5f;
    Vector3 rotationAxis = Vector3.Cross(Vector3.forward, lookAtVector).normalized;
    Vector3 quatImg      = rotationAxis * Mathf.Sin(halfAngle);

    Quaternion lookAtRotation = new Quaternion(quatImg.x, quatImg.y, quatImg.z, Mathf.Cos(halfAngle));

    transform.rotation = lookAtRotation;
}
Create the above function and call it in Update(). The targetTransform is a reference to the sphere Transform.
The Issue
If we add the script to the robot, run the simulation, and start moving the sphere around, we’ll notice something weird:
The robot is facing the target as intended, however, it is also rotated in a weird way. This is happening because we directly rotate it from the “identity/zero” rotation to the target one via the “shortest path”.
In order to solve this issue we need to exclude any rotation on the Roll axis (local Z). In other words, we need to craft two quaternions, one for the yaw and one for the pitch, separately. In the end, we will concatenate them to create the final rotation.
Code - LookAtYawPitch
1
2
3
4
5
6
7
8
9
10
11
12
13
14
15
16
17
18
19
20
21
22
23
24
25
26
27
28
29
30
31
32
33
34
35
36
37
38
39
40
41
void LookAtYawPitch()
{
    Vector3 lookAtVector = (targetTransform.position - transform.position).normalized;
    Vector3 lookAtXZ     = (lookAtVector - Vector3.up * lookAtVector.y).normalized;

    Quaternion quatPitch = Quaternion.identity;
    Quaternion quatYaw   = Quaternion.identity;

    // Create yaw rotation
    if (!Mathf.Approximately(lookAtXZ.x, 0.0f))
    {
        float halfAngleYaw   = Mathf.Acos(Vector3.Dot(Vector3.forward, lookAtXZ)) * 0.5f;
        Vector3 rotationAxis = lookAtVector.x > 0.0f ? Vector3.up : Vector3.down;
        Vector3 quatYawImg   = rotationAxis * Mathf.Sin(halfAngleYaw);

        quatYaw = new Quaternion(quatYawImg.x, quatYawImg.y, quatYawImg.z, Mathf.Cos(halfAngleYaw));
    }
    else if (lookAtXZ.z < 0.0f)
    {
        quatYaw = new Quaternion(0.0f, Mathf.Sin(Mathf.PI * 0.5f), 0.0f, Mathf.Cos(Mathf.PI * 0.5f));
    }

    // Create pitch rotation
    if (!Mathf.Approximately(lookAtVector.y, 0.0f))
    {
        if (!Mathf.Approximately(lookAtXZ.sqrMagnitude, 0.0f))
        {
            float halfAnglePitch = Mathf.Acos(Vector3.Dot(lookAtXZ, lookAtVector)) * 0.5f;
            Vector3 rotationAxis = lookAtVector.y < 0.0f ? Vector3.right : Vector3.left;
            Vector3 quatPitchImg = rotationAxis * Mathf.Sin(halfAnglePitch);

            quatPitch = new Quaternion(quatPitchImg.x, quatPitchImg.y, quatPitchImg.z, Mathf.Cos(halfAnglePitch));
        }
        else
        {
            quatPitch = new Quaternion(Mathf.Sin(Mathf.PI * 0.25f), 0.0f, 0.0f, Mathf.Cos(Mathf.PI * 0.25f));
        }
    }

    transform.rotation = quatYaw * quatPitch;
}
You may have noticed that we use a lookAtXZ vector in this snippet. This is the projection of the lookAtVector on the X-Z plane. We need this to easily calculate the yaw and pitch angles and run some extra tests.
Replace the LookAtDirect() function in Update() with LookAtYawPitch(). Running the simulation again, we get the following results:
Understanding the above code provides you with everything you need to adapt the LookAt functionality to your specific use case. If you attempt to adapt this to a different engine, be mindful of your respective coordinate system (in Unity, X is right, Z is forward, and Y is up).
If you have any questions, don’t hesitate to reach out.
You can download the complete C# script here.